To do this project, you will need a Piper Computer Kit
StoryMode Project Guide - Chain Reaction
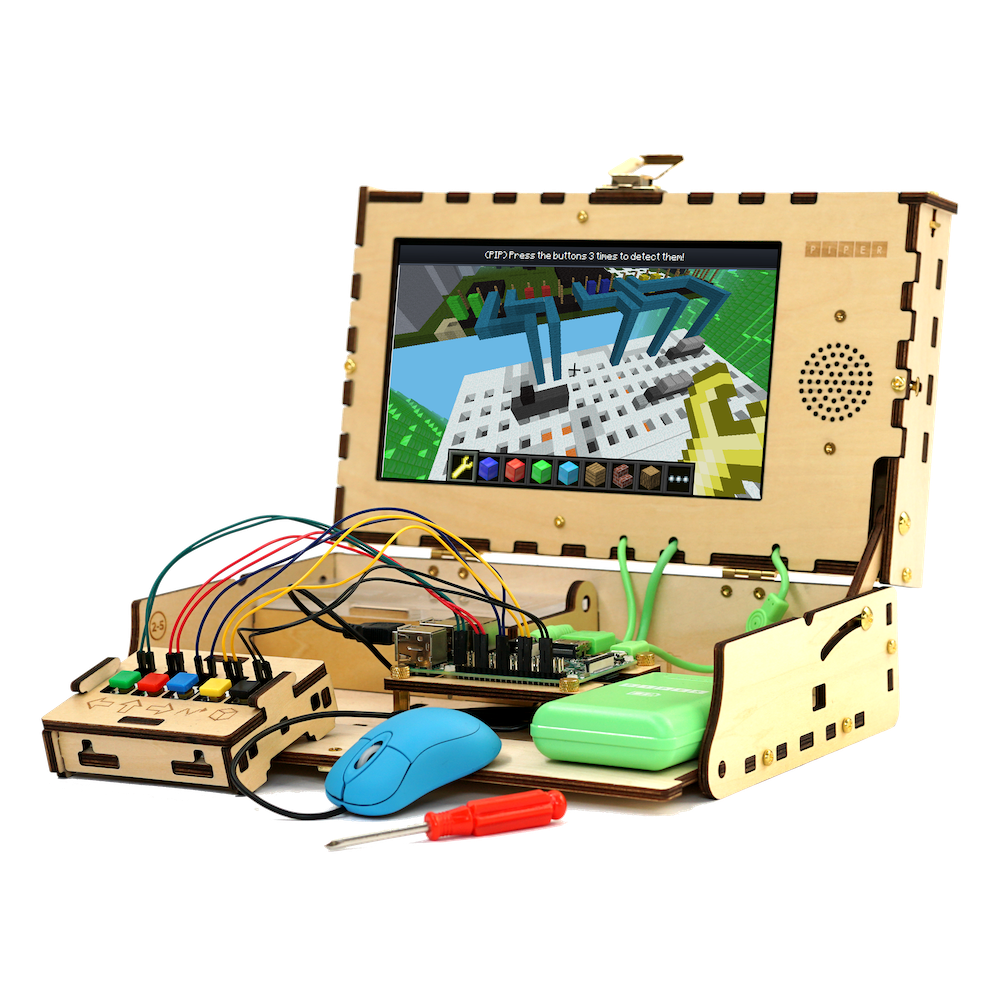
StoryMode: Chain Reaction Project
Skills and Time

Time: 30 minutes Age Range: 8+ Difficulty: Beginner
Chain Reaction
To access this project from the Piper Computer Kit main menu, click StoryMode then click Cheeseteroid.
Look for the planet image like you see on the right!
(Note: You must have completed Mars and Cheeseteroid before unlocking Chain Reaction.)

Introduction
Piperbot will need to blow its way through sand and castle walls to reach the next portal. Along the way, momentary switches (buttons) and switches are compared and contrasted. (Note: Make sure to follow the first instructions, to left click the TNT block in order to find the crafting table.) Good luck!
Concepts
In this level, holding the switch down enables a different wrench function instead of motion with buttons. This is the basic concept behind digital binary bit states (ON/OFF is equivalent to 1/0). (Note: Unlike a button which has to be held down to hold a bit state, switches hold the state depending on the position of the switch.)


Step 1: Find out the Mission
In this project, the crafting table is sitting above the castle and cannot be reached...at first. Click on the blue info. block above the blue blocks to find instructions for the next step.
Step 2: Activate the TNT Blocks
In front of the blue platform there are a sequence of TNT blocks on the ground. Left click the first TNT block and see what happens! The blocks disappear because of the TNT exploding and the crafting table is now accessible.
Step 3: Build a Button
Click on the crafting table and enter into PiperMode. Here you will be instructed to install a small button. This button is located in your bag of black electronics (bag J), the button will be the smallest item in the bag. Use GPIO pins 26,24.

Step 4: Build a Switch
Find your way to the castle and click on the blue info. blocks in front of the castle. Then right click on the crafting table for next hardware build instructions in PipingMode. The instructions will have you find a fixed switch from your bag of black electronics (bag J), the fixed switch looks like a light switch. Take out the button installed in Step 3 and replace it with the switch. (Note: Notice that the red wire needs to move over one column in the breadboard.)
Step 5: Find the Portal
Turn the fixed switch on and right click the blocks in the castle wall, notice the will turn to TNT. The portal is at the top of the castle, blow up the castle wall using TNT so you may access the portal at the top! (Note: The lesson we are teaching in this project is the difference between a momentary switch, otherwise known as a button, and a fixed switch.)
Troubleshooting
For young people, the biggest pain point is having the manual dexterity and hand strength to properly seat the switches on the mini breadboards. (Note: It's important to pay close attention and be precise when wiring components.)
Not official Minecraft product. Not approved by or associated with Mojang. The Raspberry Pi Edition of Minecraft by the Raspberry Pi Foundation is licensed under the Creative Commons Attribution 4.0 International License.
