
PiperCode: Create a 5-button Synthesizer
Piper CODE: Create a 5-button synthesizer project
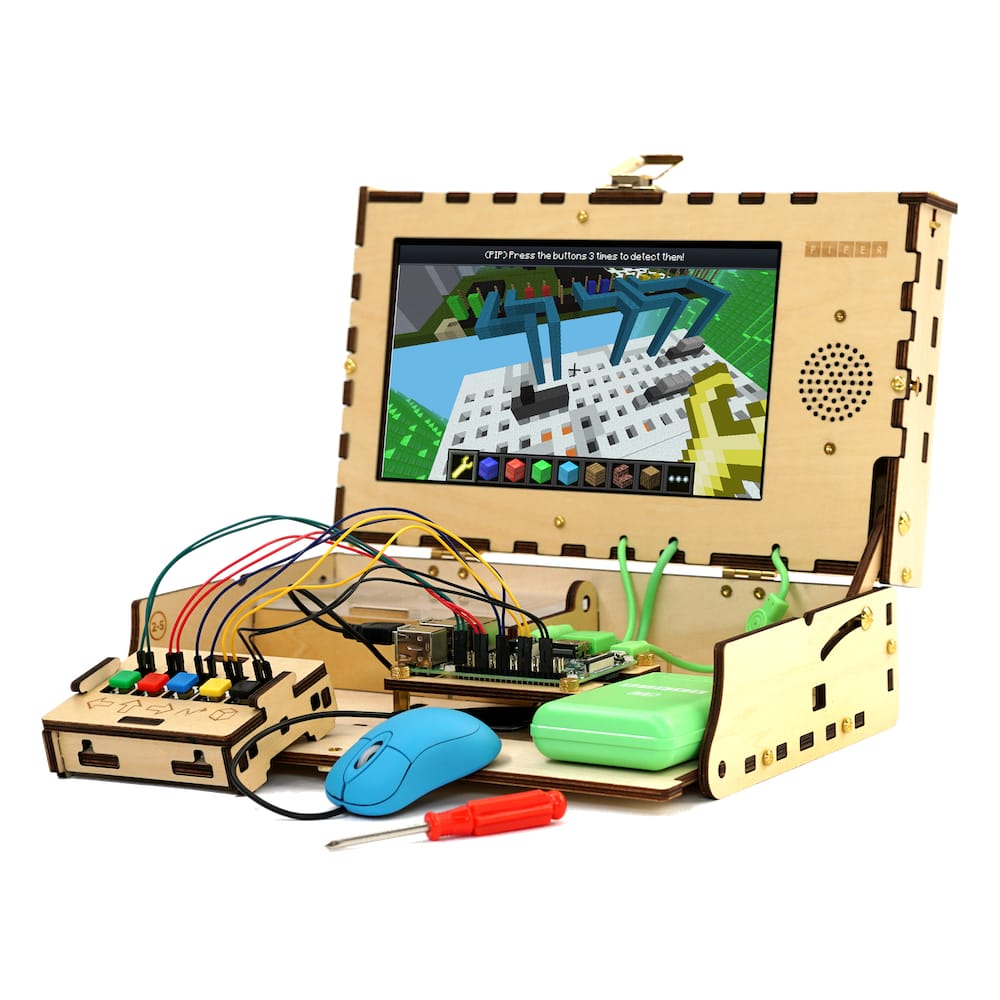
To do this project, you will need a Piper Computer Kit
Skills & Time
![]()
Time: 45 minutes Skills: Electronics, Coding Skill Level: Moderate
Objective:
Make music using PiperCode.
Project Overview:
In this project, we will make a five-button synth using PiperCode and the components in a Piper Computer Kit.
Materials Needed:
Get your parts ready - here’s what we’ll need:
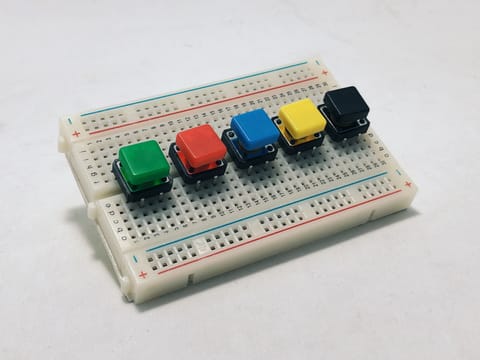
- 1Large breadboard
- 5 Buttons
- 10 Jumper wires

Start setting up
Next, set up your keyboard by placing the buttons on the breadboard like so:
Wire Up Buttons
Now, wire the buttons according to the pictures and the pin table below.

Next, wire up your buttons between the breadboard and Raspberry Pi as shown below.

Use the correct GPIO pins


The jumper wires from the breadboard should be connected to the GPIO pins as shown below.

(Note: The Raspberry Pi may turn off if a short circuit occurs between its ground and high-voltage GPIO pin to avoid head damage.)

Let's start coding!
Now that your buttons are wired up, time to start coding! Open PiperCode and set it to Step Mode at the highest speed, pictured below.

From the Sound menu on the left side, select the “Play” block. Drag and drop it into the programming area.
Next, find the "Synth" block under Sound and place it inside of the play block as shown below. Using the block’s dropdown menu to adjust tone, choose a sound that you’d like the leftmost button on your breadboard to play.

Run your code by clicking the “Start” button in the top left corner. (Note: A sound should play from your Piper Computer Kit’s speaker. If not, check your wiring and code using the steps above.)

Link the chosen sound
Now, let’s link our chosen sound to the leftmost button. From the Chip Menu, grab a “When pin turns on” block. Leave the pin value as 3 - the green button’s signal pin.
Next, click “Start” to test your code. Make sure your speaker volume is turned up. A sound should play when the green button is pressed. Try it!


Now that we understand how to code a button press to produce a sound, we can use the “Duplicate code” action to make copies of the code so far. To duplicate the code, right click on a completed “When pin turns on” block, and select duplicate. Do this three times until you have 5 "When pin turns on" segments.
After duplicating your code, give each statement a new pin assignment. On the new “When pin turns on” blocks, set their pin numbers to 31, 33, and 16 as shown below.

Now, you can choose different instruments or tones for each button, like keys on a keyboard! Using the selection menu in the synth blocks, try putting together your own set of notes.
Want more fun?
Once you're finished, click "Start" again and play your 5-button piano by pressing your buttons. Experiment with your piano by changing the sounds. The combinations you can create are nearly endless!
We hope you enjoyed this Piper STEAM project! Have a great Piper project idea? Let us know in the comments below. 👇
Not official Minecraft product. Not approved by or associated with Mojang. The Raspberry Pi Edition of Minecraft by the Raspberry Pi Foundation is licensed under the Creative Commons Attribution 4.0 International License.
SHOP
SUPPORT
COMPANY
LEGAL
